This article delves into the step-by-step process of integrating MuleSoft with Webex REST APIs, focusing on leveraging OAuth2 Authorization Code for secure authentication. With Webex’s support for OAuth2 Authorization Code, users can seamlessly create and modify Webex events directly from the MuleSoft environment. In this tutorial, we will walk through the process of creating a meeting using this integration, demonstrating the powerful capabilities it offers for enhancing collaboration and productivity.
Pre-requisites:
Create a free Webex account using – https://signup.webex.com/sign-up
Create Integration App on Webex:
To initiate the integration process, the first step is to create an integration app on the Webex platform. This allows for secure invocation of the Webex REST API using OAuth 2 standards, ensuring that third-party integrations can obtain temporary access tokens for authentication without requiring users to provide their passwords. Follow these steps to create an integration app on Webex:
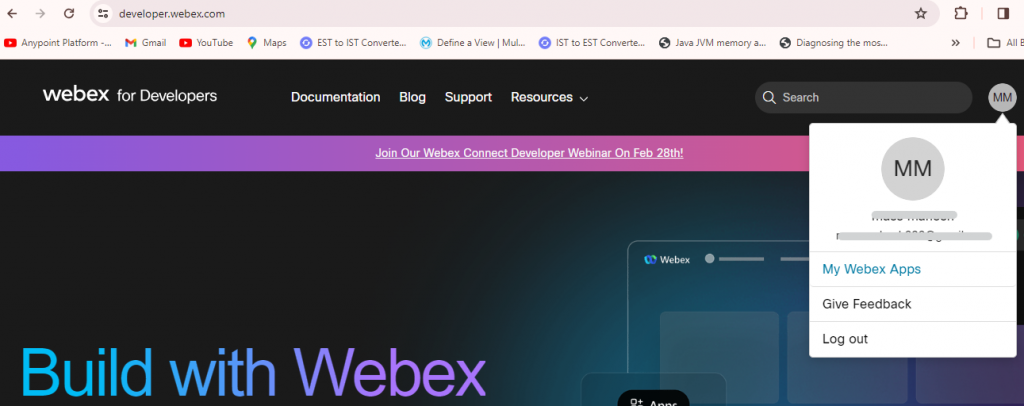
1. Visit the Webex Developer website at https://developer.webex.com/ and navigate to “My Webex Apps” from the menu under your avatar at the top of the page.

2. Select “Create a New App” to begin the integration app creation process.

3. Choose “Create an Integration” to specify that the app will be integrated with external systems, such as MuleSoft.

4. Provide essential information for the integration, including the integration’s name, description, Redirect URI(s), and logo. Click on “Add Integration” to proceed. For our purposes, the following information will be provided:
- Integration name: Webex_mulesoft_integration
- Description: Webex_mulesoft_integration
- Redirect URI(s): http://localhost:8081/webex/callback
- Scopes: meeting:schedules_write
5. Upon successful registration of the integration, you will receive the Client ID and Client Secret. These credentials will be used for the Mule Integration, enabling secure communication between MuleSoft and Webex
Integration with MuleSoft:
Now that we have set up the integration app on the Webex platform, let’s proceed with integrating MuleSoft to create a meeting in Webex. Below are the steps involved in this integration:
1. Import the OAuth and Object Store modules into the MuleSoft project to facilitate authentication and data storage.
2. Add an Object Store configuration with default values, ensuring that data persistence is maintained throughout the integration process.

3. Configure a Request component to handle authentication with the following parameters:
- Authentication: Authorization code grant type
- Local callback config path: “/webex/callback”
- External callback URL: “http://localhost:8081/webex/callback”
- Local authorization URL: “http://localhost:8081/webex/authorize”
- Authorization URL: “https://webexapis.com/v1/authorize”
- Client ID: [Your Client ID from Webex integration]
- Client Secret: [Your Client Secret from Webex integration]
- Token URL: “https://webexapis.com/v1/access_token”
- Scope: “spark:kms meeting:schedules_write”


4. Create a new flow dedicated to creating a meeting, starting with a Listener component configured with the Path as “/createMeeting”.
5. Use a Transform Message component to define the payload for the meeting, including details such as title, agenda, start time, and end time.

6. Add a Request component to make a POST request to the Webex API endpoint (https://webexapis.com/v1/meetings) with the previously defined payload as the body.

7. Run the MuleSoft project to initiate the integration process.
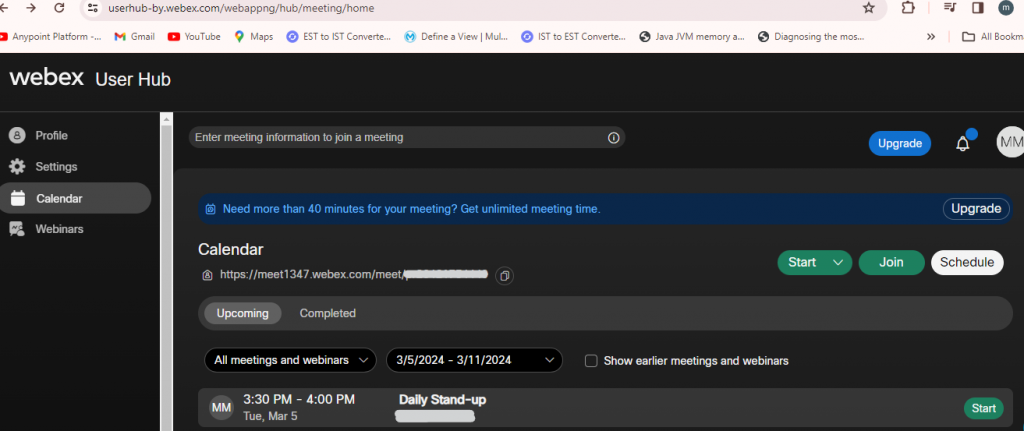
8. Open a browser window and navigate to the URL “http://localhost:8081/webex/authorize” to initiate the authentication process. Follow the prompts to log in with your Webex account.

9. Upon successful authentication, grant permission for MuleSoft to access your Webex account by clicking “Accept”. The token will then be stored in the Object Store, and a success message will be displayed.


10. To create a meeting, open a new browser window and navigate to the URL “http://localhost:8081/createMeeting“. Upon execution, a long response will be generated confirming the successful creation of the meeting in Webex.


Conclusion:
To access different kinds of Webex REST APIs (such as Create Meeting, Delete Meeting, list meeting, etc.), we can use the configuration as above and only update the Request component with the desired payload.


